|

When using SSH, you should follow the following instructions:
-
This tutorial assumes that you have already installed SSH on
your machine.
-
Double click on the SSH icon to open the program. Once you
have done that, the following screen should appear:

-
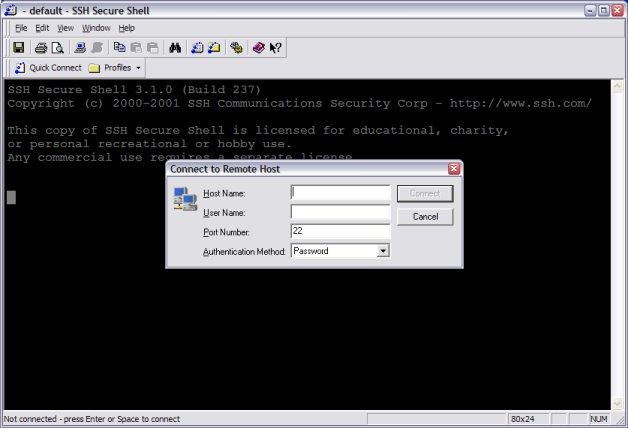
Now you can either hit the "enter" key, or you can
go to File->Connect to make a connection. This will bring
up the following screen:
-
Now for the "Host Name" portion of the dialog box,
you should enter the following:
electron.cs.uwindsor.ca
For the "User Name" portion of the dialog box,
you should enter your user ID. (Example: blah6). When data
is entered in correctly you should have a screen that looks like
the following:

-
Now either push "enter" or click the connection button
to make the connection to the Server server.
-
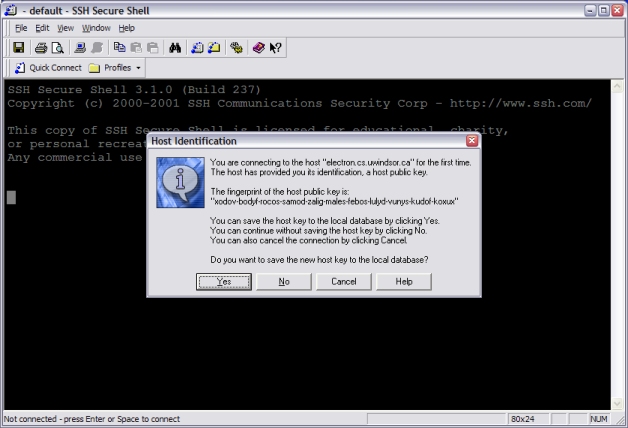
Now a Host Identification dialog box appears, asking you if you
would like to save the host key to a database. If you are using
SSH from home, then you may save this key. If you are using a
machine at school, then it is advisable to not save this key.
If you do not receive this screen, then you are still ok, just
move onto the next item on this list. The screen mentioned above
will look like the following one presented here:
-
Next, you will be asked for your password. This is the password
you have from creating your WEBMAIL account.
-
Now you will be logged into your webspace account on Electron. Experiment
with the various commands you are allowed to execute.
-
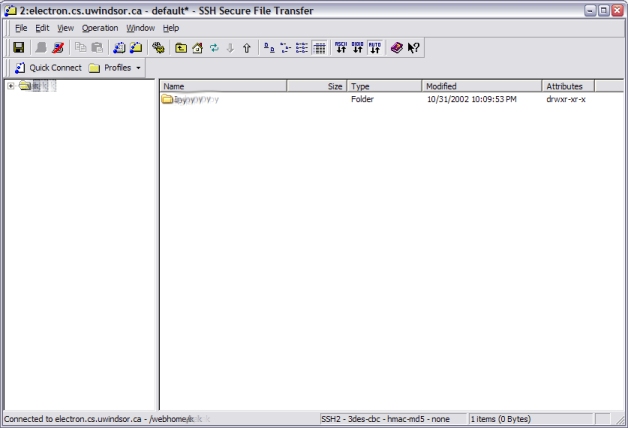
Next, in order to transfer files from your Windows machine to
the account on electron you must select the File Transfer
window icon from the Tool Bar. The following picture demonstrates
the correct icon:

-
Click on this icon will bring up the following window (This is how your SSH Secure File
Transfer window should look like; it should show your web account).
-
With this window open, transferring files is easy. Just drag
and drop the files you want transferred over. It's as if you
were copying files from one location in a Windows machine to
another location (it's really that easy!).
-
Once you have finished transferring your files, just close
the application down and you are finished. Go check
your web page out from the 60-205 web site and make sure
everything works.
-
Note: It has been reported by some students that some letters
may change case while uploading files from a Windows machine to
a Unix machine. However, there was no documentation to support
this claim, but it would be highly advisable for you to check
and make sure that the files have been uploaded correctly.

|